Whether you’re a seasoned Linux user or just starting out, personalizing your shell can truly transform your computing experience. I’ll guide you through some cool customizations that not only enhance functionality but also bring a unique personal flair to your terminal.
Introduction to the Shell
Today, many people use a computer exclusively with a graphical user interface (GUI) aided by a mouse or trackpad, often overlooking the terminal’s existence. This tool, known by various names such as shell, command prompt, or terminal, has been a crucial method for interacting with computers since the early days of modern computing, following earlier methods like punch cards. Even now, it remains an essential tool, especially for developers. It offers much more flexibility and speed once mastered compared to using a GUI – the windowed operating system interface commonly used with a mouse. Even if you’re not a developer, learning the basics of the shell can be beneficial, helping you better understand how your computer operates. This article isn’t a mini-course on shell usage; you can find plenty of those online. Instead, I want to show you how, with a few customizations, the shell can become more visually appealing and convenient to use.
Assumptions
In this article, I assume the use of a Linux shell due to its flexibility, power, and customization capabilities. I use a Mac, and in the following examples, we’ll see the MacOS terminal, which is based on Linux. If you’re a Windows user, nowadays, there are several ways to have a Linux terminal as an alternative to the classic command prompt.
For Windows users, you might consider options like PowerShell or Windows Subsystem for Linux (WSL). PowerShell is a powerful scripting environment integrated with Windows, offering advanced features and access to the system’s core components. Alternatively, WSL allows you to run a genuine Linux environment directly on Windows, providing a more authentic Linux experience without needing dual-booting or a virtual machine.
I also assume that the shell being used is zsh (now the default shell on MacOS, starting from the Catalina version), which adds new functionalities compared to bash and supports plugins and themes. If you use a Linux system and are still using Bash as your shell, you can install Zsh by following this guide.
Oh My Zsh
Oh My Zsh is an open-source framework for managing your Zsh configuration. It offers a vast set of features to enhance the Zsh shell experience. Its powerful plugin and theme system allows for extensive customization and efficiency improvements, with over 275 plugins and 150 themes. We’ll use it to enhance our terminal’s aspect and make it even more powerful.
You can install it with this command:
sh -c "$(curl -fsSL https://raw.githubusercontent.com/ohmyzsh/ohmyzsh/master/tools/install.sh)"Once installed, you can check if everything went ok running this command:
zsh --versionYou could check the FAQs from their GitHub page if something goes wrong.
Theme Selection
You can take a look at the available themes from this page (there are plenty of them!). Once you’ve selected your preferred one, you can enable it by opening the zsh configuration file, with this command:
open ~/.zshrc # You can use Nano or Vim instead, to open and edit the fileand then setting the environment variable ZSH_THEME to the name of the theme.
For example, I love the “agnoster” theme, and therefore I’ve configured my “.zshrc” file like this:
# ~/.zshrc file

# ...

ZSH_THEME="agnoster"

# ...
Once you’ve finished editing, save the file. To apply the changes instantly to your current shell session, use the following command:
source ~/.zshrcThis is the look of my terminal, using the “agnoster” theme:

The “agnoster” theme of ‘Oh My Zsh’
I love the colors of this theme, plus the plenty of information that it provides about the full path in the file system, the git branch you’re working on, and so on. If you have issues with fonts and symbols while using the “agnoster” them, follow the instructions suggested on this page (theme number 11).
If you prefer a more minimalistic theme, there is plenty as well, such as the “minimal” theme.
Syntax Highlighting
Now that we have Zsh and Oh My Zsh in place, we can install the zsh-syntax-highlighting plugin.
The Syntax Highlighting plugin for Oh My Zsh provides real-time highlighting of commands entered in the terminal. This feature enhances readability and helps distinguish between commands, arguments, and file paths. It visually marks correct commands in one color and incorrect ones in another, aiding in error detection and making the command line more user-friendly. Essentially, it improves the user’s experience by making the command syntax easier to read and understand, reducing the likelihood of syntax errors.
You can install the plugin with the following command:
git clone https://github.com/zsh-users/zsh-syntax-highlighting.git ${ZSH_CUSTOM:-~/.oh-my-zsh/custom}/plugins/zsh-syntax-highlightingand then activate it editing once again the .zshrc file:
open ~/.zshrc # You can use Nano or Vim instead, to open and edit the fileThen, make sure to add it to the list of plugin, in this way:
# ~/.zshrc file

# ...

plugins=(zsh-syntax-highlighting)

# ...
If there are already other plugins, just add “zsh-syntax-highlighting” at the end, after one space (no comma or other separators here).
Again, once you’ve finished editing, save the file. To apply the changes instantly to your current shell session, use the following command:
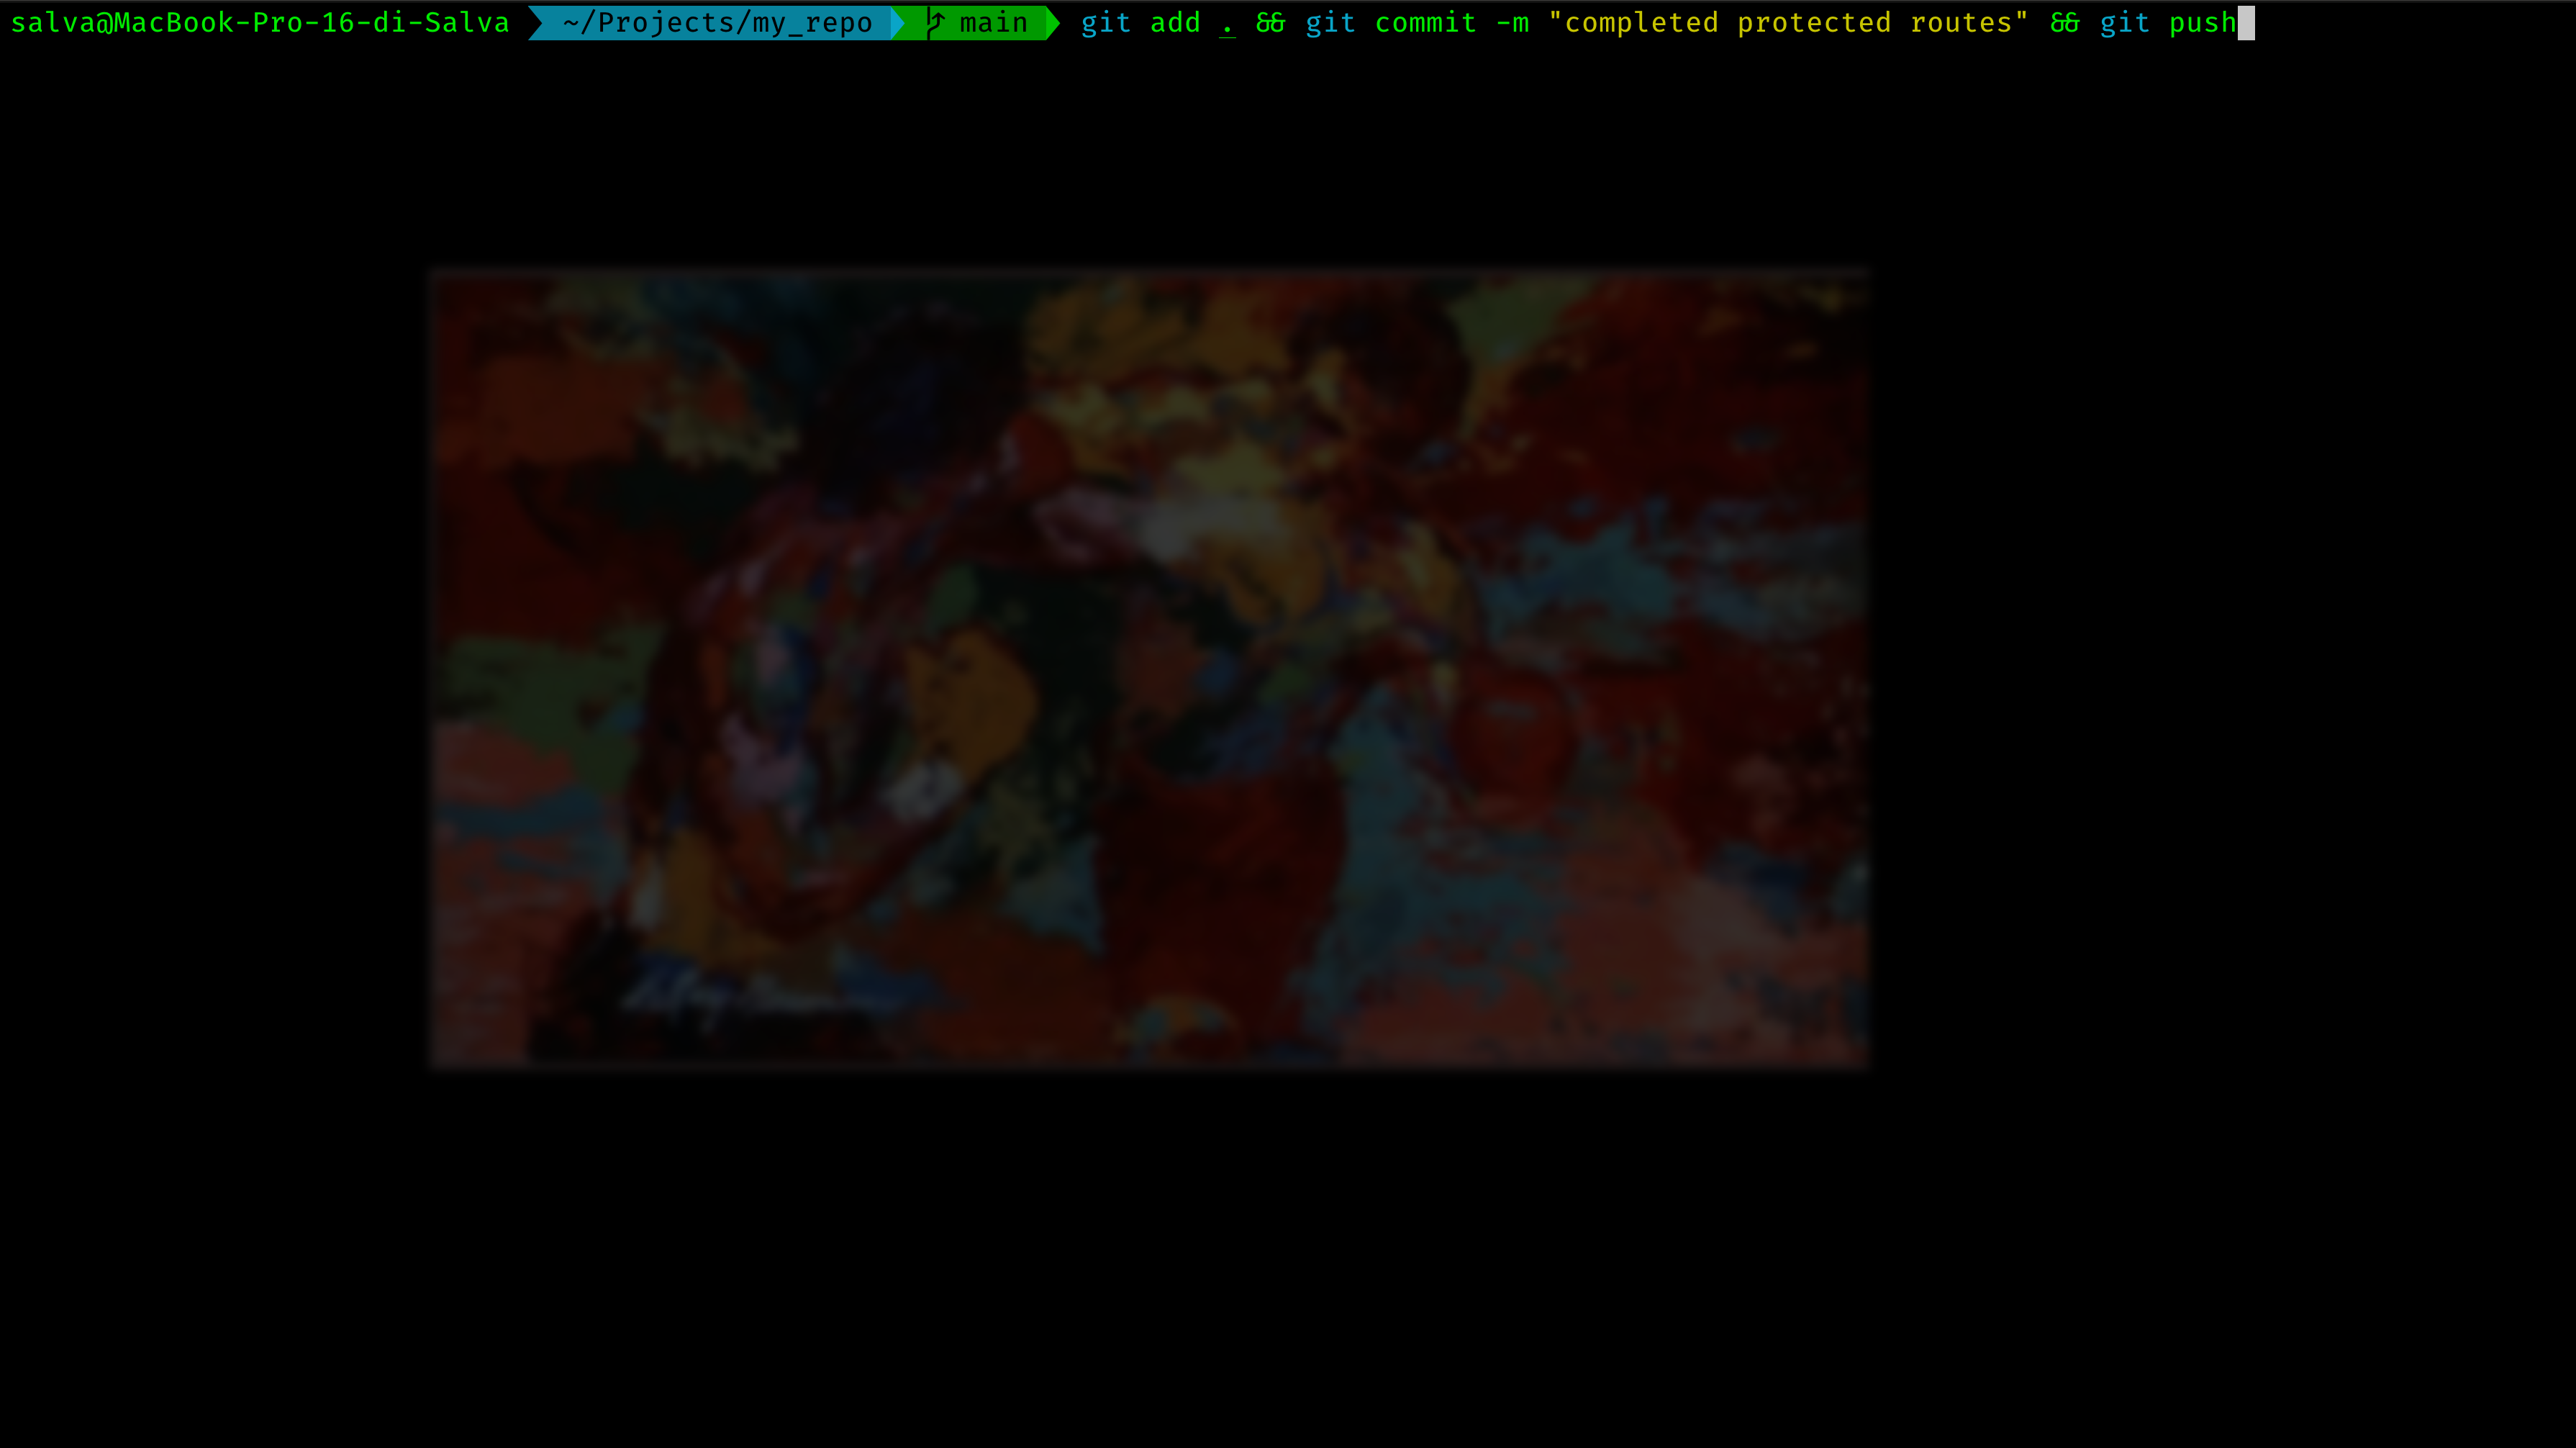
source ~/.zshrcThis is an example of how the syntax highlighting plugin improves readability:
 Syntax Highlighting in action
Autosuggestion
Let’s now install the “zsh-autosuggestions” plugin.
The Autosuggestions plugin for Oh My Zsh is a powerful tool that enhances the command line experience by suggesting commands as you type based on your command history. It intelligently predicts and displays potential command completions directly in your terminal in a faint text format. These suggestions are based on your previous command usage, making recalling and executing complex or frequently used commands easier. You can accept a suggestion with a specific keystroke (like pressing the right arrow key), significantly speeding up your workflow and reducing typing effort. This plugin is particularly useful for increasing efficiency and accuracy in terminal operations.
Let’s install it with the following command:
git clone https://github.com/zsh-users/zsh-autosuggestions.git $ZSH_CUSTOM/plugins/zsh-autosuggestionsand let’s activate it editing the .zshrc file:
open ~/.zshrc # You can use Nano or Vim instead, to open and edit the fileLet’s add it to the plugin list:
# ~/.zshrc file

# ...

plugins=(zsh-syntax-highlighting zsh-autosuggestions)

# ...
and again, let’s save the file and apply che changes:
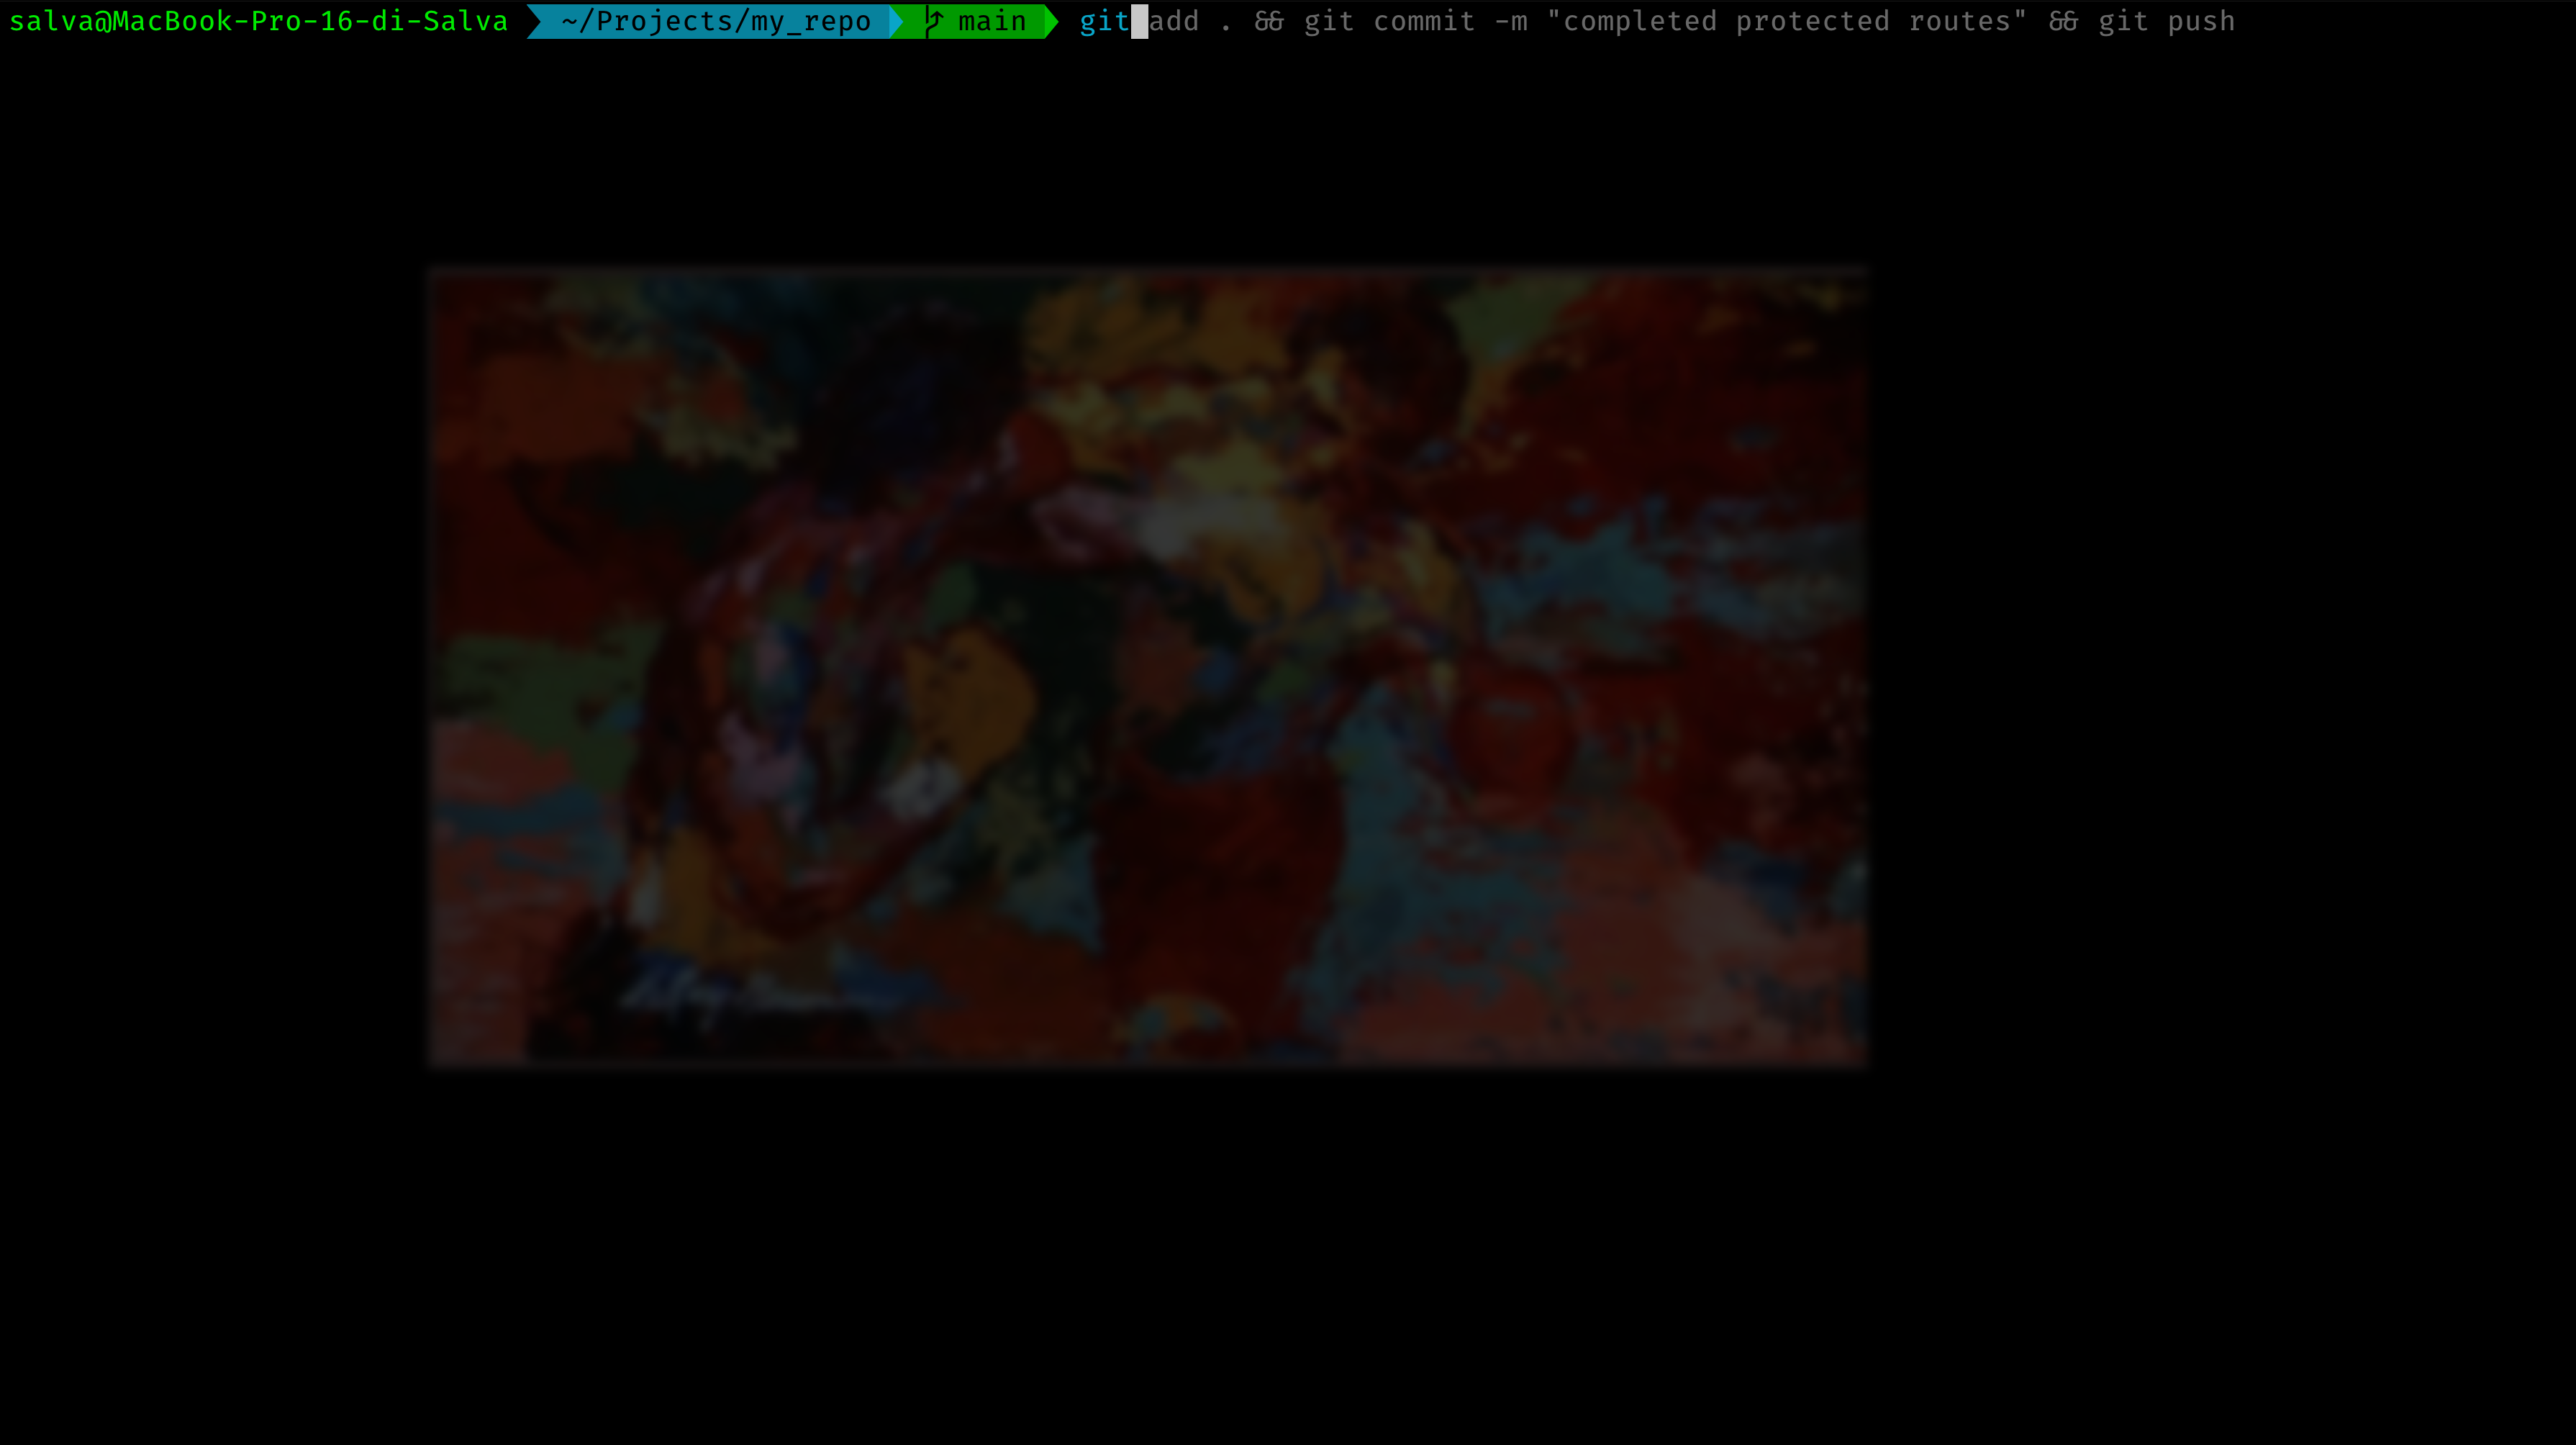
source ~/.zshrcThis is an example of how the autosuggestions plugin enhances the productivity
 The Autosuggestions plugin in action
Conclusion
We’ve touched upon how the shell still plays a fundamental role in a developer’s workflow and how, with some clever tweaks, it can be made more visually appealing and more powerful, thus enhancing productivity. A specific example is the Oh My Zsh configuration tool for the zsh shell, along with some of its themes and plugins. Of course, numerous other plugins are available, such as git, web search, etc.. I encourage you to deepen your understanding of the shell by following the links I’ve provided throughout the article and experimenting with additional plugins to make your experience even more enjoyable!
